Leave Your Message

How to Choose the Right Cabinet Basin for Your Bathroom?

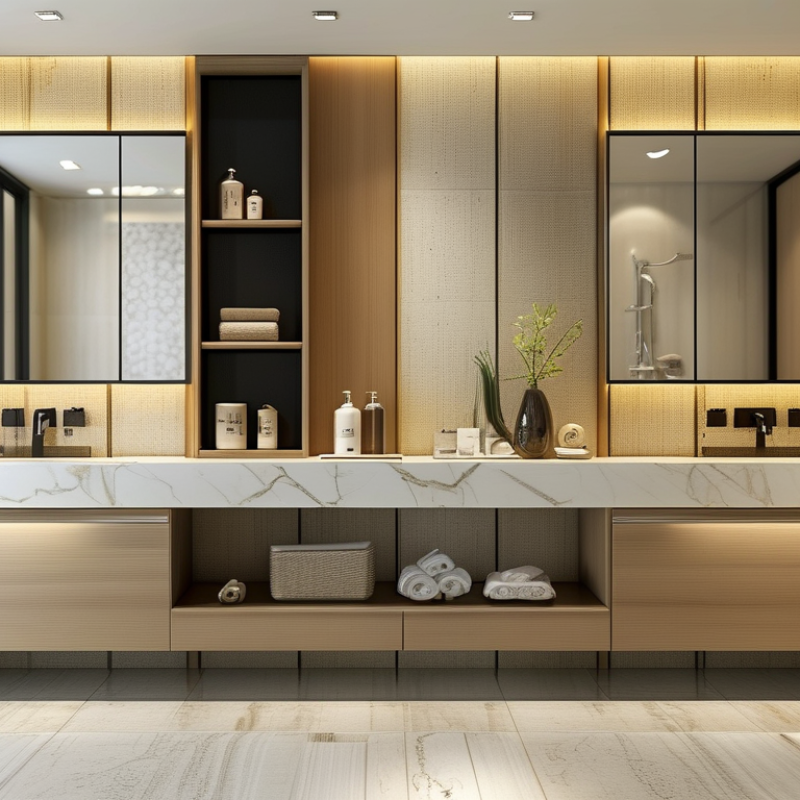
Choosing the right Cabinet Basin can shape how your bathroom feels and functions every day. It affects storage, cleaning, movement, and the visual balance of the room. A basin may look beautiful online, yet feel awkward beside a door or shower screen. Small details matter.

In practical bathroom planning, begin with the available wall width, plumbing position, and walking space. Measure carefully, including skirting boards and pipe outlets. A compact cabinet can suit a narrow ensuite, while a wider double basin may support a busy family bathroom. Check the basin height before purchase. Children, older adults, and wheelchair users may need different access arrangements. Confirm the cabinet material, finish, hinges, and moisture resistance. Not every attractive surface handles constant splashes well.

Think about installation, too. Some designs require wall reinforcement or professional plumbing adjustments. Manufacturer instructions deserve close attention. Local building and plumbing requirements should also guide the final decision. Reliable suppliers should provide clear dimensions, warranty details, care instructions, and replacement-part information. That is not exciting, but it prevents expensive surprises.

No choice is perfect.

This guide compares basin styles, cabinet proportions, materials, storage layouts, and installation concerns. It also considers lighting, cleaning habits, and long-term durability. A reflective approach helps. A trendy finish might lose its appeal, while a simple cabinet may remain useful for years. Before choosing, picture the basin on a wet Monday morning, not only in a staged showroom.
How to Choose the Right Cabinet Basin for Your Bathroom?

Assess Bathroom Layout: Allow 30 in. of Clear Floor Space (NKBA)

Choosing the right cabinet basin starts with the space in front of it. The National Kitchen & Bath Association recommends about 30 inches of clear floor space for comfortable bathroom use. Measure from the basin cabinet’s front edge to the nearest wall, toilet, shower screen, or open door. Do not measure from the wall behind the cabinet.

This clearance affects more than comfort. It gives users room to bend, dry their hands, and open drawers without collision. A deep cabinet may look practical on paper, yet reduce movement near a narrow doorway. Check the door swing carefully. A bathroom door that opens toward the basin can make the space feel cramped every morning.

Use masking tape to mark the cabinet footprint on the floor. Walk through the room with a towel, laundry basket, or cleaning bucket. Real movement reveals problems that a plan may miss. Keep drawers clear of nearby fixtures, too. I have seen layouts meet the measurement but still feel awkward because hardware projected into the walking path.

Thirty inches is a useful planning benchmark, not a substitute for local building requirements. Existing walls can be uneven, and plumbing may limit cabinet placement. Leave a small adjustment allowance when possible. A final on-site check with the installer can prevent expensive changes after the basin arrives.

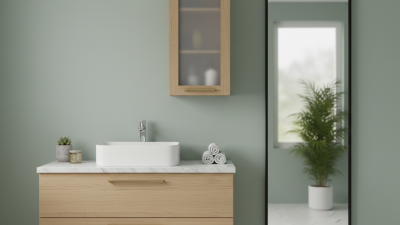
Set Vanity Height: Keep Accessible Lavatories at 34 in. Maximum (ADA)

How to Choose the Right Cabinet Basin for Your Bathroom?

Choosing a cabinet basin involves more than matching colors and storage. For an accessible bathroom, set the vanity height carefully. The lavatory rim or counter surface should be no higher than 34 inches above the finished floor under ADA requirements. Measure after installing the flooring, not before. Small changes can affect compliance.

Leave clear knee and toe space beneath the basin. Pipes should not create sharp contact points or block wheelchair positioning. A wall-mounted or carefully configured cabinet may provide better access than a deep vanity. Keep controls within comfortable reach, and choose lever handles when possible. The basin should also have a shallow bowl to reduce forward stretching.

Measure twice.

During installation, stand beside the cabinet and check the actual approach path. I once focused too much on countertop height and overlooked a thick backsplash, which reduced usable reach. That mistake changed the final measurement. Clearances also depend on door swings, drawer hardware, and nearby walls. Local building requirements may differ, so confirm the design with an accessibility professional or qualified contractor. Good planning protects comfort, safety, and long-term usability.

How to Choose the Right Cabinet Basin for Your Bathroom? - Set Vanity Height: Keep Accessible Lavatories at 34 in. Maximum (ADA)

Practical cabinet basin selection dimensions for comfortable everyday use and accessible bathroom planning

Selection Dimension Recommended Data Why It Matters Planning Check
Accessible vanity or lavatory height 34 in. maximum (865 mm) An accessible lavatory rim or counter surface should not be higher than 34 inches above the finished floor where ADA requirements apply. Measure from the finished floor to the highest point of the basin rim or countertop.
Clear floor space 30 in. wide × 48 in. deep minimum (760 × 1220 mm) This provides a forward approach area for a wheelchair or mobility device. Keep the approach free from doors, freestanding bins, and other permanent obstructions.
Forward approach knee clearance 30 in. wide × 27 in. high × 19 in. deep minimum Open space below the basin allows the user to approach the sink comfortably. Confirm that the cabinet, plumbing, drawers, and supports do not occupy the required knee area.
Toe clearance 30 in. wide × 9 in. high × 6 in. deep minimum Toe space can improve forward reach and reduce interference at the base of the vanity. Use a recessed or open toe-kick area where appropriate, while protecting the user from sharp edges.
Accessible faucet controls Operable with one hand; no tight grasping, pinching, or twisting Lever, loop, or sensor-style controls are generally easier to operate than two-handle twist controls. Choose controls that can be used with a closed fist and that do not require excessive force.
Faucet operating force 5 lbf maximum (22.2 N) Lower operating force supports users with limited hand strength or dexterity. Verify the selected faucet documentation and test the control after installation.
Plumbing protection Insulate or configure exposed hot-water and drain pipes Protecting pipes helps prevent burns and contact injuries beneath an accessible lavatory. Cover exposed pipes and remove sharp or abrasive projections from the knee and leg areas.
Basin front-to-back depth Prefer approximately 18–22 in. for compact accessible layouts A shallower basin can help keep the faucet within a comfortable forward reach range and preserve circulation space. Confirm the actual basin depth, backsplash thickness, faucet position, and required knee clearance together.
Typical non-accessible vanity height Approximately 32–36 in. commonly used A standard-height vanity may be comfortable for standing users but can exceed the accessible 34-inch limit. Do not use a common vanity height as a substitute for an accessibility measurement.
Wall-mounted versus floor-mounted cabinet Wall-mounted or modified floor-mounted design A wall-mounted configuration can make it easier to create the required knee and toe clearance. Verify wall structure, mounting hardware, basin load, finished-floor height, and plumbing locations.
Countertop and basin edge Stable, smooth, and free of sharp projections A safe edge reduces the risk of cuts, snags, and accidental impacts during transfers or close approach. Inspect the front edge, corners, backsplash, and cabinet hardware before final installation.
Reach to operating parts Place frequently used controls within accessible reach limits Faucets, soap dispensers, and controls should be positioned so they can be reached without excessive leaning. Check the final installed position rather than measuring only the basin or cabinet separately.

Important: The dimensions above are planning guidance based on common ADA accessibility criteria for lavatories. Local building codes, plumbing regulations, residential requirements, and project conditions may impose additional or different requirements. Confirm the final design with the applicable authority or a qualified accessibility professional.

Choose Basin Type by Space, Use, and Required Bowl Depth

How to Choose the Right Cabinet Basin for Your Bathroom?

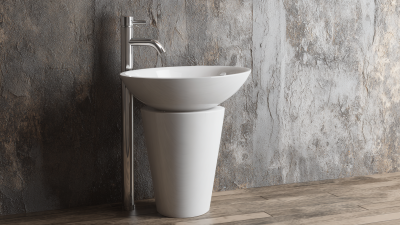
The right cabinet basin depends on available space, daily habits, and bowl depth. Measure the finished cabinet, countertop, wall clearance, and door swing before choosing a shape. A compact undermount basin keeps small bathrooms visually calm. A countertop basin can provide more presence, but it often reduces usable counter space. Wall-mounted options suit tight rooms, although they may require stronger wall support and careful pipe planning.

Bowl depth affects comfort and cleaning. A shallow bowl, around 100–130 millimeters deep, works well for handwashing and limited-height cabinets. Deeper bowls, around 150–200 millimeters, help reduce splashing during frequent use. However, they may feel awkward for children or shorter users. Check the tap reach as well. Water should land near the drain, not against the front wall. I once selected a deep basin that looked excellent in a showroom. At home, it made washing a child’s hands surprisingly difficult. The choice was not completely right.

Tips: Use masking tape to mark the basin outline on the cabinet surface. Stand beside it and test the elbow room. Ask a qualified installer to confirm waste alignment, cabinet strength, and waterproof sealing. Leave enough clearance for drawers and cleaning tools. A basin can be attractive yet inconvenient. Depth should serve the people using it, not only the room’s appearance.

How to Choose the Right Cabinet Basin for Your Bathroom?

Choose basin type by available space, daily use, and required bowl depth.

Wall-mounted basins generally suit compact bathrooms because they use less floor space. Countertop basins offer flexible styling and are suitable for family bathrooms, while inset and pedestal basins usually provide deeper bowls for frequent handwashing and reduced splash. The depth ranges shown are typical residential planning values; always confirm the final dimensions against the cabinet, tap, waste, and installation requirements.

Match Basin Material to Durability, Maintenance, and Moisture Resistance

How to Choose the Right Cabinet Basin for Your Bathroom?

A cabinet basin faces daily water, soap, toothpaste, and sudden temperature changes. Choose the material according to durability, maintenance, and moisture resistance. Glazed ceramic handles regular use well and resists stains when cleaned with mild products. Its smooth surface also makes water droplets easy to wipe away. No material is perfect. A hard impact can still chip the basin, especially around the drain or corners.

Stone resin feels solid and offers a seamless, modern appearance. It usually resists moisture effectively, but harsh cleaners may dull its finish. Follow the care instructions carefully, even when the surface looks highly durable. Natural stone requires more attention because tiny pores can absorb water and cosmetics. Proper sealing reduces this risk, but sealing is not permanent. Check the surface periodically for darkened edges or rough patches.

The cabinet beneath the basin deserves equal attention. Moisture-resistant panels and sealed joints help prevent swelling near the plumbing. Keep the edges dry. A small leak can damage a cabinet long before it becomes obvious. In practical bathroom inspections, loose taps and poorly sealed backs often cause more trouble than the basin material itself. Consider your cleaning habits, water hardness, and household traffic. A beautiful material may become inconvenient if it demands constant polishing. Small details matter.

Select Water-Efficient Faucets: WaterSense Limits Flow to 1.5 gpm (EPA)

How to Choose the Right Cabinet Basin for Your Bathroom?

A cabinet basin should fit both your routine and your available space. Measure the cabinet width, basin depth, and faucet hole position before buying. A shallow basin can reduce knee space, while a deep bowl may create awkward splashing. I have seen attractive basins become inconvenient because the faucet sat too far forward. That small detail matters every morning. Choose a smooth, durable surface that is easy to wipe around the drain and tap base.

Select a water-efficient faucet with the WaterSense label. According to the U.S. Environmental Protection Agency, WaterSense bathroom faucets limit flow to 1.5 gallons per minute. This can reduce water use without making handwashing feel weak. Check the faucet height against the basin depth. A powerful stream hitting a shallow bowl can splash the cabinet and floor. An aerated flow often feels softer, though personal preference still matters. I once focused too much on appearance and overlooked handle clearance. It was a useful mistake.

Tips

Check flow performance before installation. Ask about replacement parts and cleaning the aerator. Keep the faucet centered over the drain. Leave enough rear clearance for wiping. Test the basin with a cup of water if possible. Not every efficient faucet feels identical. Your household’s habits should guide the final choice.